Views: 0 Author: Site Editor Publish Time: 2023-09-15 Origin: Site


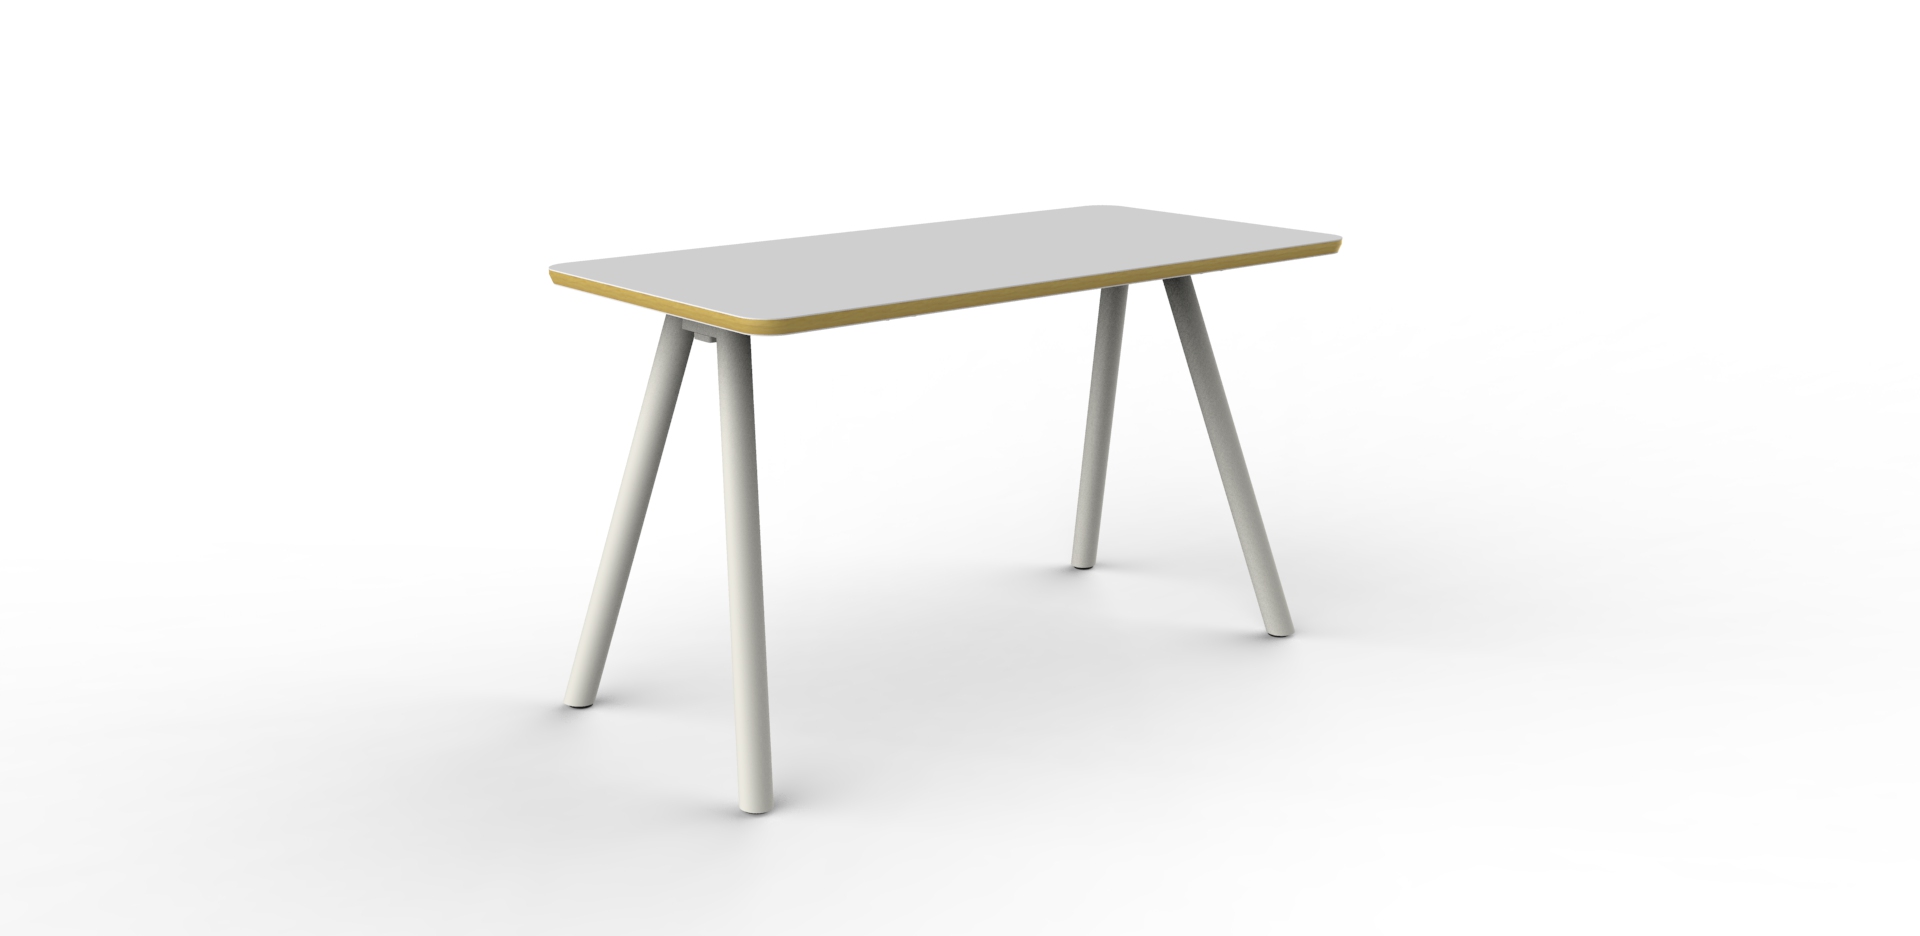
When it comes to DIY furniture projects or giving a new life to an old table, attaching steel legs can transform both the look and functionality of your piece. Whether you're aiming for an industrial aesthetic or need the durability that steel legs can provide, the process involves more than just slapping on some legs and calling it a day. In this article, we'll walk you through the essential steps and tips to ensure your table not only stands but stands out. You'll need a few basic tools like a drill, screws, and of course, your chosen steel legs.
Before anything else, preparation is key. Start by thoroughly cleaning the area of the table where you'll attach the legs. Any dust or debris can interfere with the attachment process. Once clean, measure and mark precisely where each leg will go. It's crucial that these marks are accurate to ensure the table's stability.
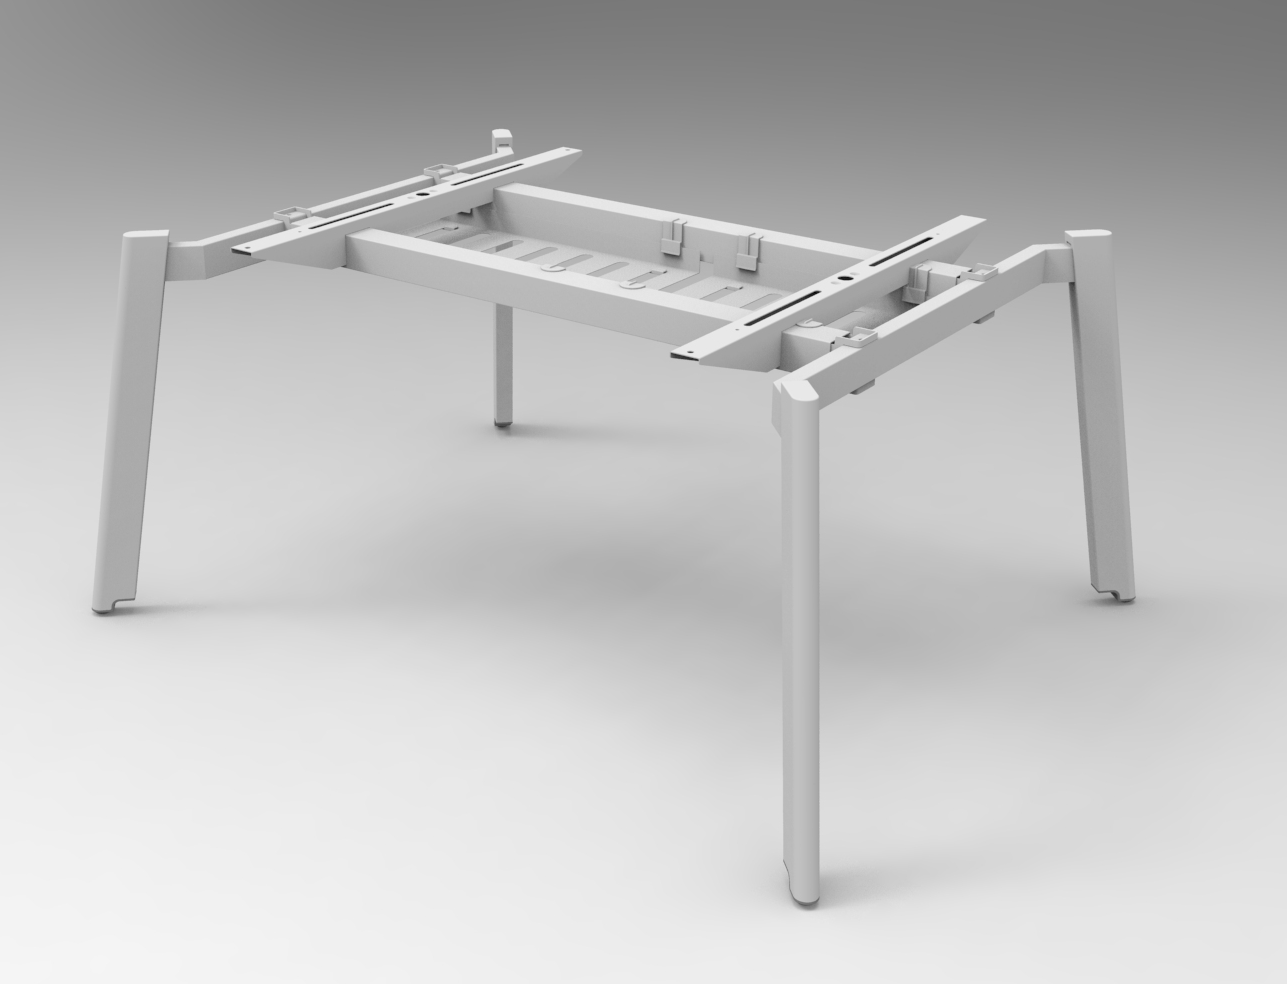
With your table prepared and the positions marked, it's time to drill. Depending on the thickness of your table's surface and the type of steel legs you have, you might need different sizes of screws or bolts. Drill pilot holes at the marked spots to make attaching the legs easier and to prevent the wood from splitting.
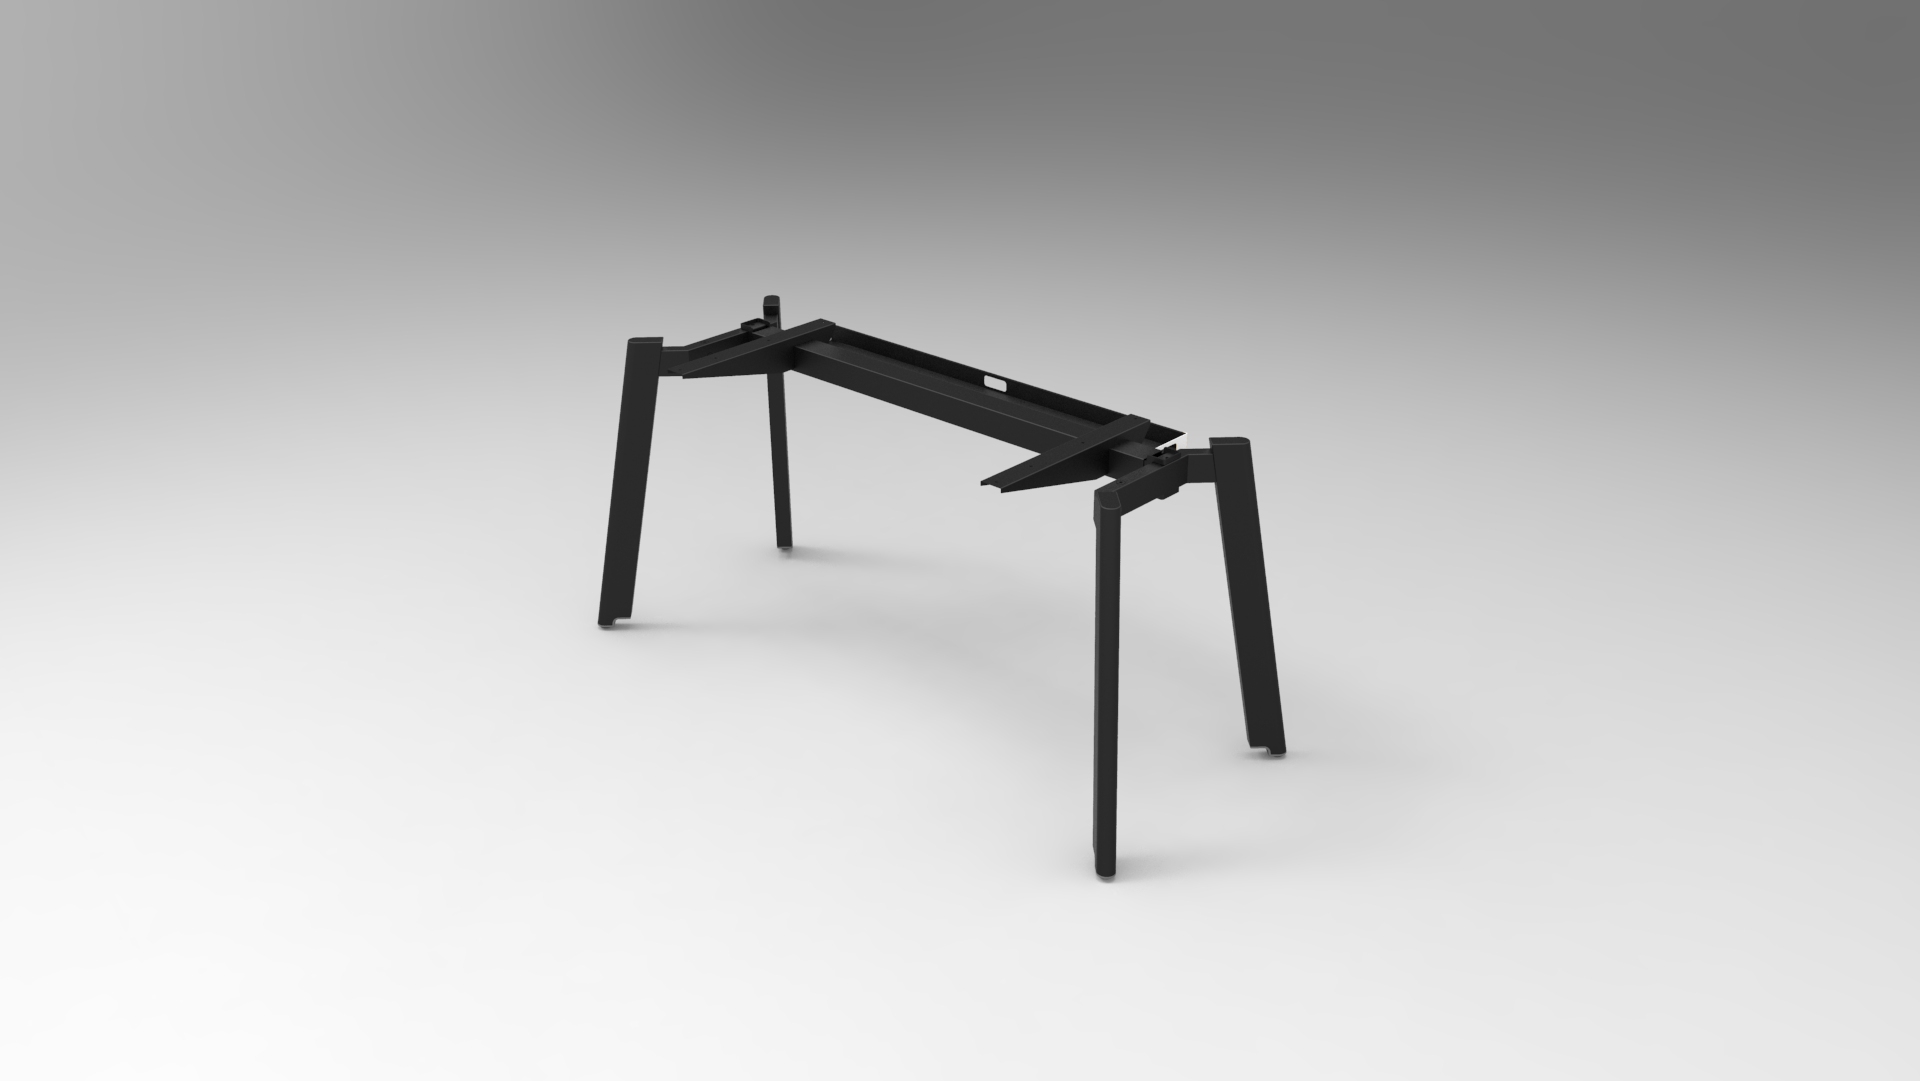
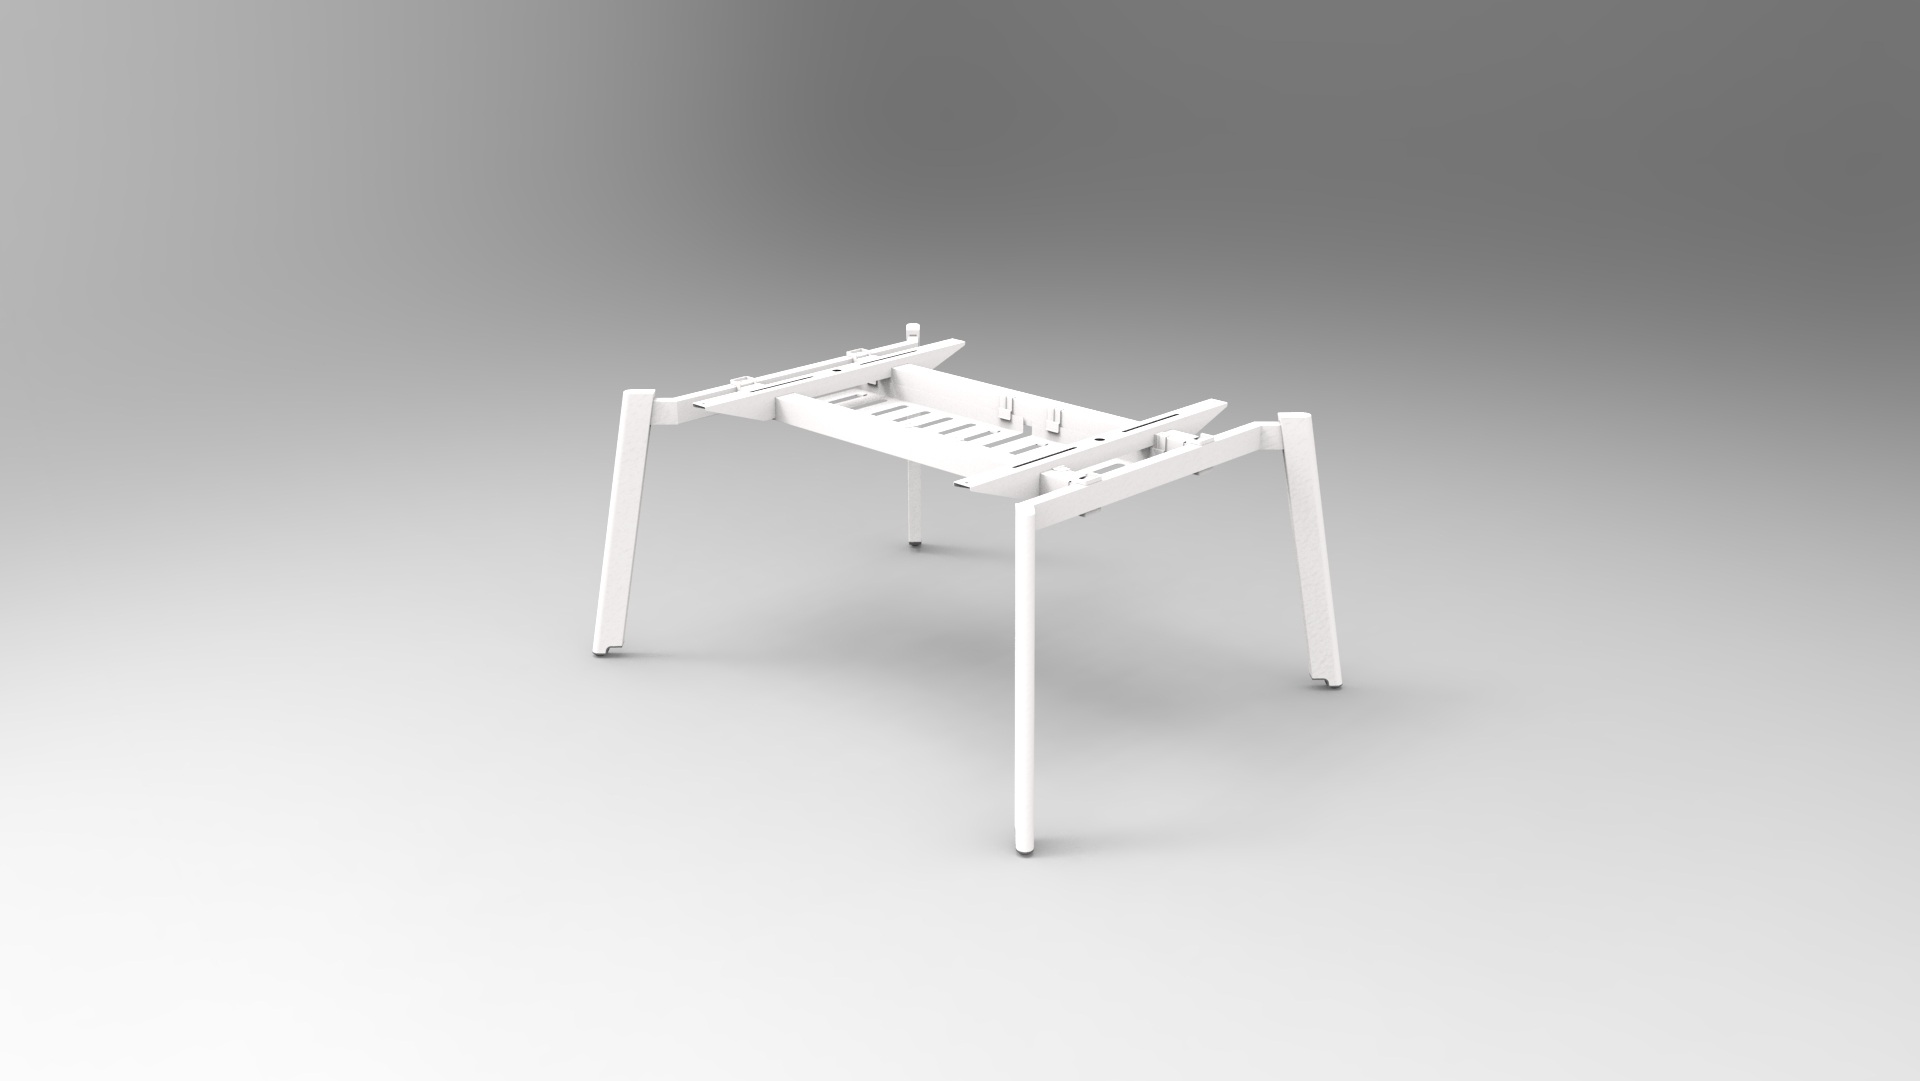
Next, align the steel legs with the pilot holes and start securing them with screws or bolts. For the best stability, use at least four screws per leg, and ensure they're appropriate for both the leg's material and the table's thickness. Tighten the screws or bolts until the leg is firmly attached but be careful not to over-tighten and damage the table or the leg.
Once all the legs are attached, it's time to give your table a test. Gently shake the table to check for any movement in the legs and ensure it stands evenly. If you notice any wobble, double-check the tightness of the screws or bolts and adjust as necessary.
To ensure your table lasts for years and remains stable, choosing the right hardware is essential. Stainless steel screws or bolts are preferred for their strength and rust resistance. Additionally, consider using washers to distribute the load evenly and protect the wood's surface.
Regular maintenance is also key. Periodically check the tightness of the screws or bolts, especially if the table is used frequently. Wood can expand or contract with changes in humidity, which might affect the stability of the legs.
In conclusion, attaching steel legs to a table is a straightforward process that can significantly enhance the functionality and style of your furniture. By following these steps and best practices, you'll ensure your table is not only stable and durable but also a piece you can be proud of. Whether you're a seasoned DIY enthusiast or a beginner, the satisfaction of completing such a project is unmatched. Happy building!